Friday, January 5, 2018

Punch Needle Frame

When I first learned of Needle Punch
I was at a local
fiber show. The owner of a small
wool provider explained
(logically) the basics of the craft.
His wife was away from booth at time.
He made this wonderful wooden frame.


I like how my little storage box
fits nicely under frame
when not in use.


I especially like that it pivots
and can be fastened to stay in place too.


The edging is carding strips
to hold fabric taunt
so it can be pulled
'drum tight'


Of course the corner don't have sharp edging


The red wool cover makes working
on frame nice
so hands don't get pricked by
sharp edging.

Even a small zip lock of fabric can be stored under frame
making it easy to travel with project.


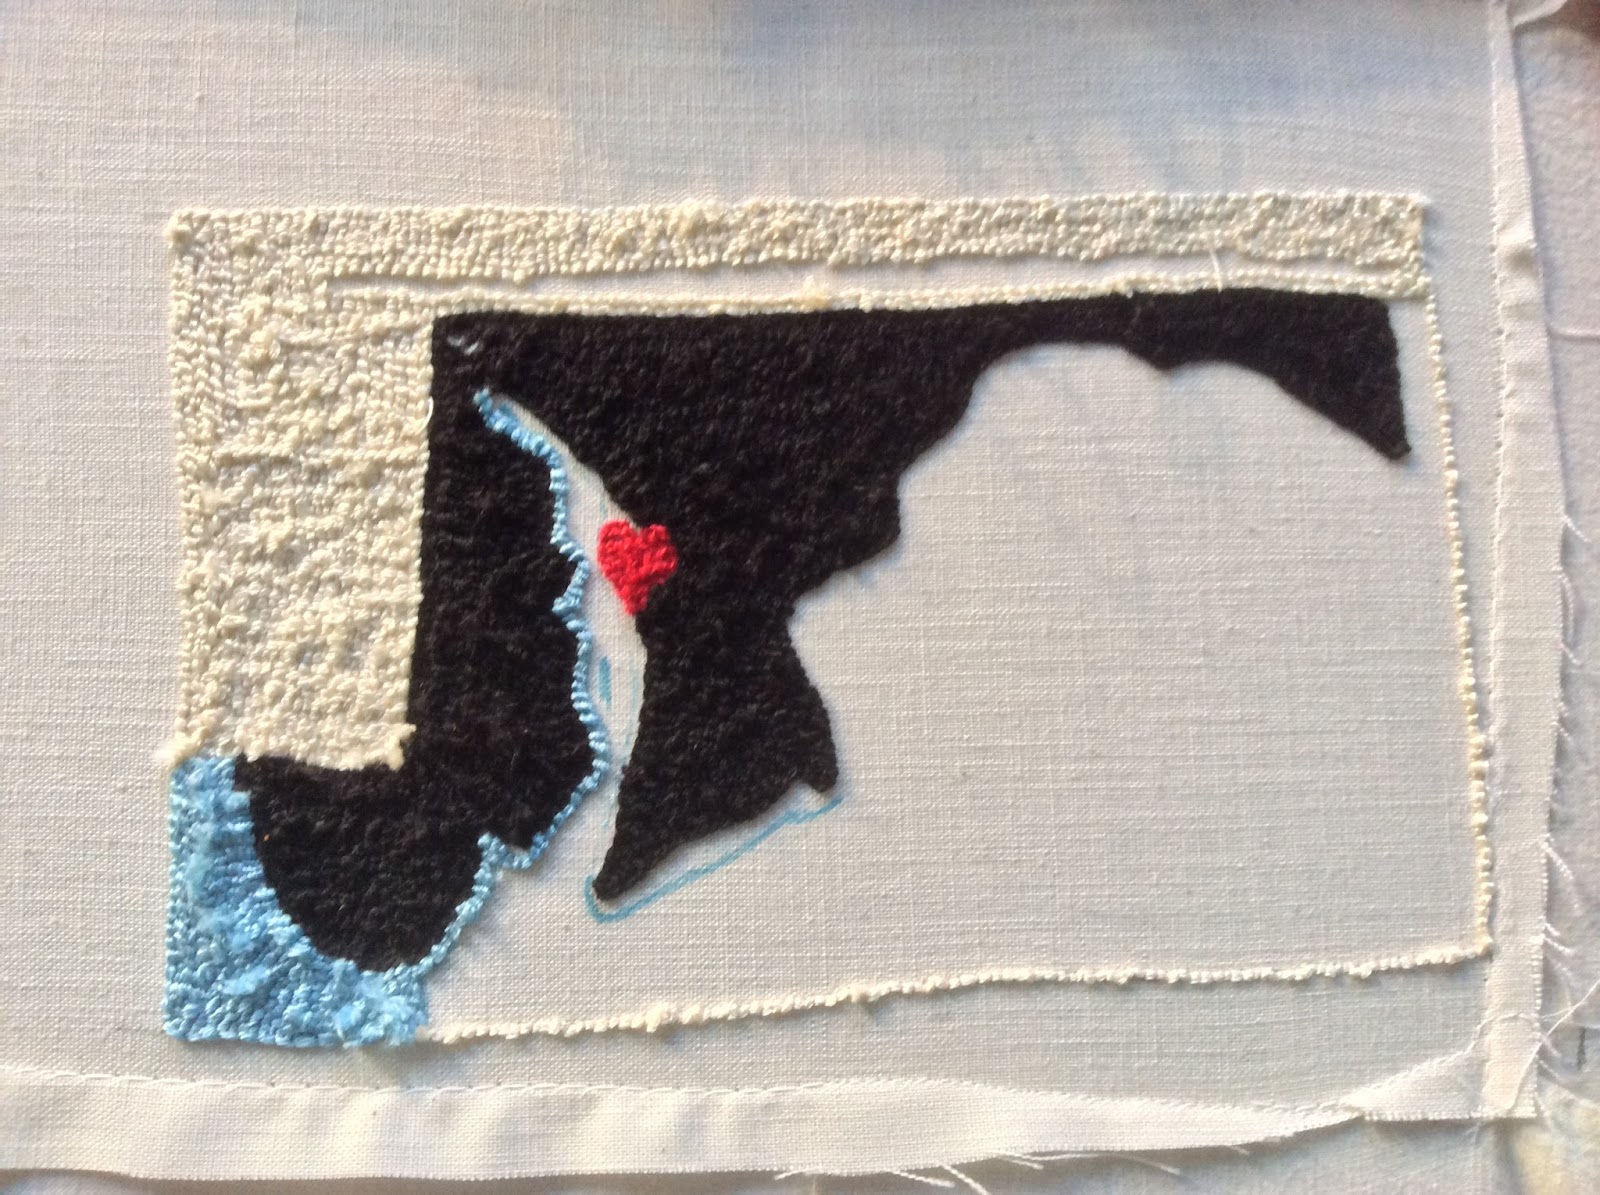
The underside is the 'right side' of work area.
So when creating a punch needle
we work from the 'wrong side' which is
on top of frame.


You can see through weaver cloth
and the pattern you see here is actually
from the back side.


For small projects I like using hand held hoop plastic frames.


Thursday, January 4, 2018

Basic Tools for Punch Needle


These are my 'basic tools'
I use when needle punching.
Very sharp scissors, embroidery needles (not pictured),
floss and floss holder...


the purpose for fine pointed
sharp scissors
is for the snipping of loops
on 'right side' of work.
The finer the scissors are
the easier to get into small areas within the work.


Storage is another important factor
for keeping tools together and safe.
I found this antique slide box
at a charity shop
and knew it would be perfect for my spare needle nibs
and needle threader.

I like keeping everything I need
to start and complete
a needle punch project
together...

Just the needles pictured here
with of course
a magnifying glass (much needed)
and plastic straw bits
to keep yarn punch tip covered.

I alway keep a few pieces of cardboard too,
for backing small/medium project
before framing.
Cereal boxes work great!

Just a few name brand/packages
of the punch needles I own:
Ultra-Punch: can be found online or local small shop fiber shows
Clover Embroidery Stitching Tool: can be found online &@ knit shops/craft shops
Artiste: found at Hobby Lobby
Rug Yarn Punch Needle also @ Hobby Lobby


I first purchase my weavers cloth from a local wool fiber artist.
She package it in zip locks shown here.
I now purchase by the yard,
but like to store smaller bits in zip locks.

I like how everything is neatly tucked away in storage box.
Of course I keep floss, threads, hoops, frames, and fabric
in separate storage boxes.
That will be my next post.


Wednesday, January 3, 2018

Different Types of Punch Needle Punch

There are several types
of punch needle punches on the market.
These pictured here are small needles.
Floss, thread is bested used.
A few have adjustable needles which
allows for varying lengths
of 'loops' made.

These punches pictured here are used
primarily with yarn
having a much larger needle with
and stationary needle
non-adjustable length.


Price points vary too.


You can see that the body
of these tools vary as well.


Closer look at needle sizes.


Comparing
From top of picture, down
The first three needles are retractable.
The forth is not, so I use a knitting needle stopper
to prevent point of needle damage
when away from project.
The last two are also
non-retractable.

These smaller punch needles work best on weavers cloth
using embroidery floss/threads.
The pink heart pictured here I used 6 strands of DMC floss
with the Ultra Punch (blue one on far left)
on this 5" plastic hoop.

Tuesday, January 2, 2018

New Project #4

Have cut my weavers cloth.
Hand drawn my picture.
Now I need to select threads

and which needle punch to use.


Monday, January 1, 2018

Learning How To Needle Punch

This was my very first attempt (Self Taught) at needle punching.
I bought the needle punch at a local alpaca festival
Was given very good verbal instructions and decided to give it a go!
This is the right side of the work
When punching, ALL work is done
on the reverse (wrong) side.
I simply hand drew (no pattern)
a heart, threaded the punch needle
and began carefully going in one direction...
After the outline was done, I realised I didn't have
anymore of the same coloured DMC floss
so I made due with my spare stash of floss
and filled in the middle part.
Again, this is a view of the right side of the work.
This is the view from the back (wrong side) of the work.
I used an embroidery hoop that had a lip on it,
so it did not slip while I was punching.
This was the second project I made.
When I bought the needle punch I learned that
I could take a class from the owner.
This was from that class, using a pattern
and pre-selected floss.
All works are done on Weavers Cloth
I used a special frame to work this project.
The edges are lined with very sharp, metal
'velcro' like grips. Actually it's the stuff on a carding brush, for fibers.
This is view of the wrong side of project
and using the special frame, pulling fabric 'drum tight'
really helps with keeping punching even and steady.
Once finished I pull off frame, cut around project
leaving about an inch and a half margin
then I turn to back side
and whip stitch to back of project.
I found this great little frame at a charity shop
and decided to attach it to the front of the glass.
I think it worked out great!
This was my third attempt to continue needle punching.
I drew 'Maryland' out on the weavers cloth, stretched it
onto the frame and began using DMC floss
I thought would work best...
Because I decided to use a smaller piece of the weavers cloth
I had to attach it to a few smaller pieces of muslin cloth
so it would fit on my frame.
After completing all the punching,
I tried the fabric, turned under and did
a whip stitch to attach to back on work.

Found this great frame at the same charity shop as before.
This time I mounted the work UNDER the glass
to keep it from collecting dust.


Related Posts Plugin for WordPress, Blogger...