Showing posts with label Everyday Handmade. Show all posts

Monday, January 1, 2018

Learning How To Needle Punch

This was my very first attempt (Self Taught) at needle punching.
I bought the needle punch at a local alpaca festival
Was given very good verbal instructions and decided to give it a go!
This is the right side of the work
When punching, ALL work is done
on the reverse (wrong) side.
I simply hand drew (no pattern)
a heart, threaded the punch needle
and began carefully going in one direction...
After the outline was done, I realised I didn't have
anymore of the same coloured DMC floss
so I made due with my spare stash of floss
and filled in the middle part.
Again, this is a view of the right side of the work.
This is the view from the back (wrong side) of the work.
I used an embroidery hoop that had a lip on it,
so it did not slip while I was punching.
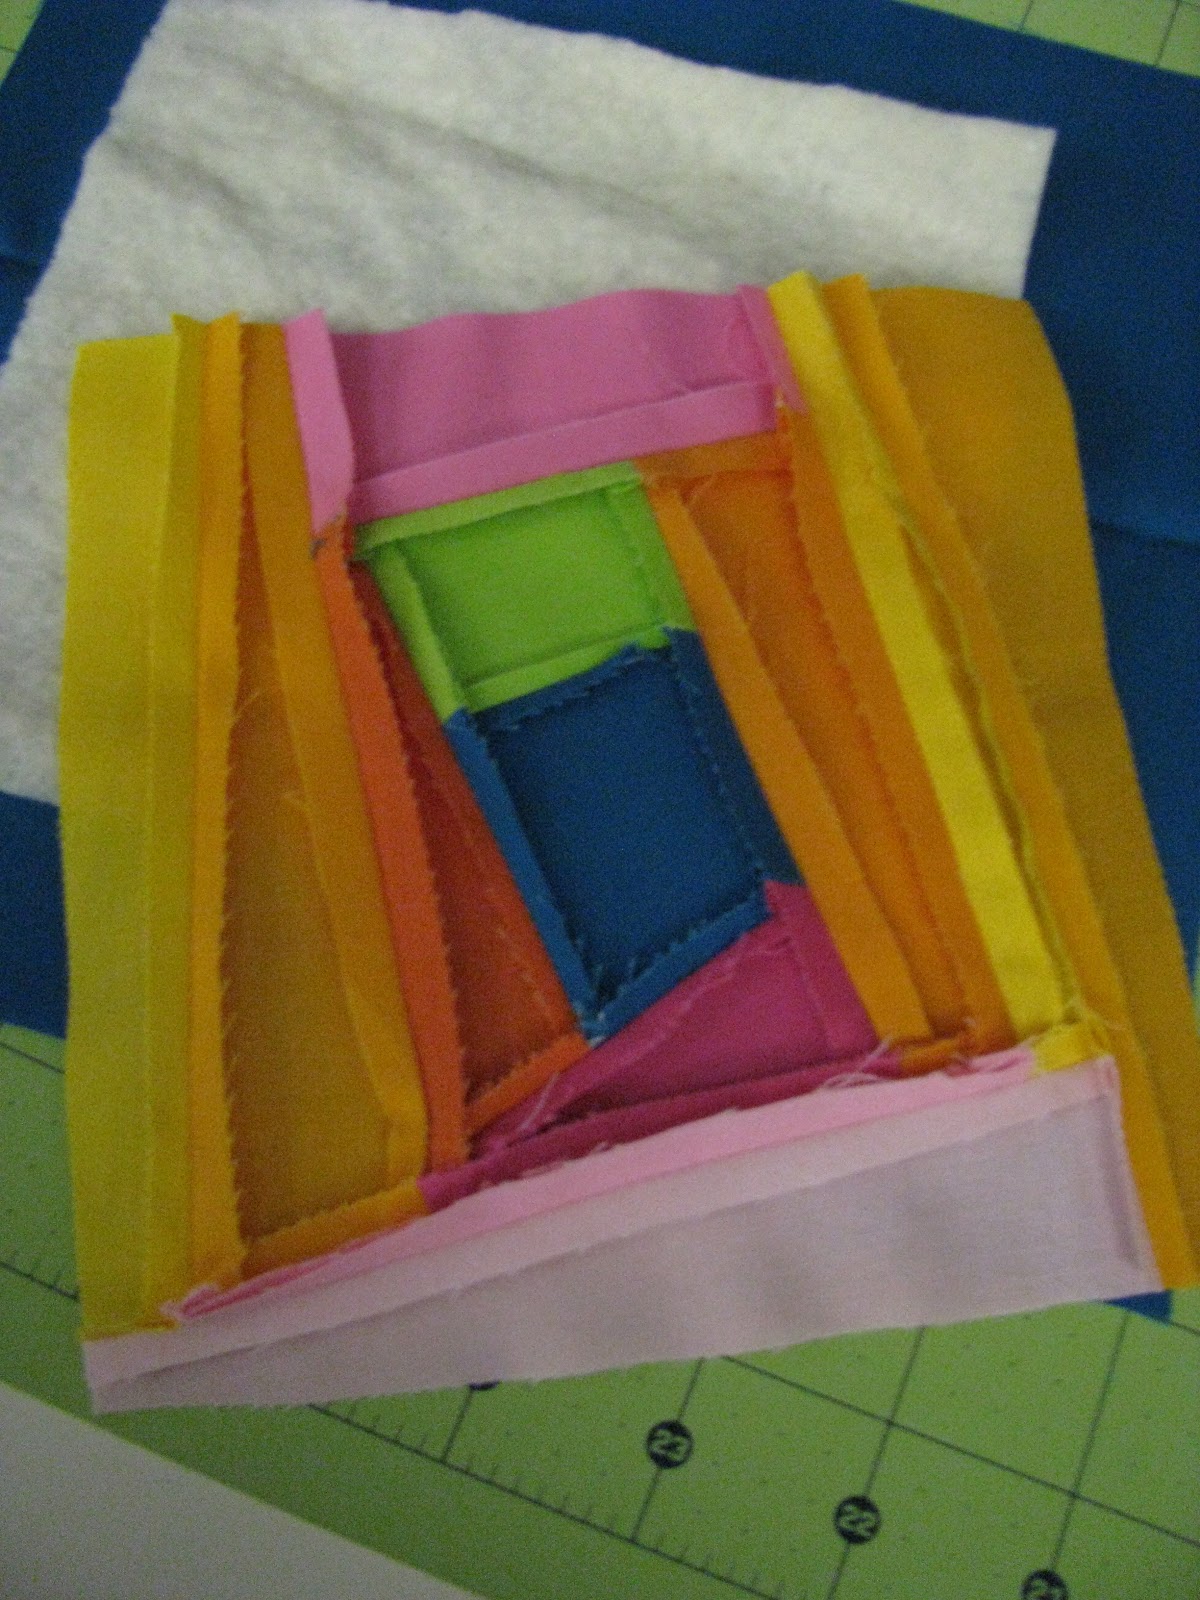
This was the second project I made.
When I bought the needle punch I learned that
I could take a class from the owner.
This was from that class, using a pattern
and pre-selected floss.
All works are done on Weavers Cloth
I used a special frame to work this project.
The edges are lined with very sharp, metal
'velcro' like grips. Actually it's the stuff on a carding brush, for fibers.
This is view of the wrong side of project
and using the special frame, pulling fabric 'drum tight'
really helps with keeping punching even and steady.
Once finished I pull off frame, cut around project
leaving about an inch and a half margin
then I turn to back side
and whip stitch to back of project.
I found this great little frame at a charity shop
and decided to attach it to the front of the glass.
I think it worked out great!
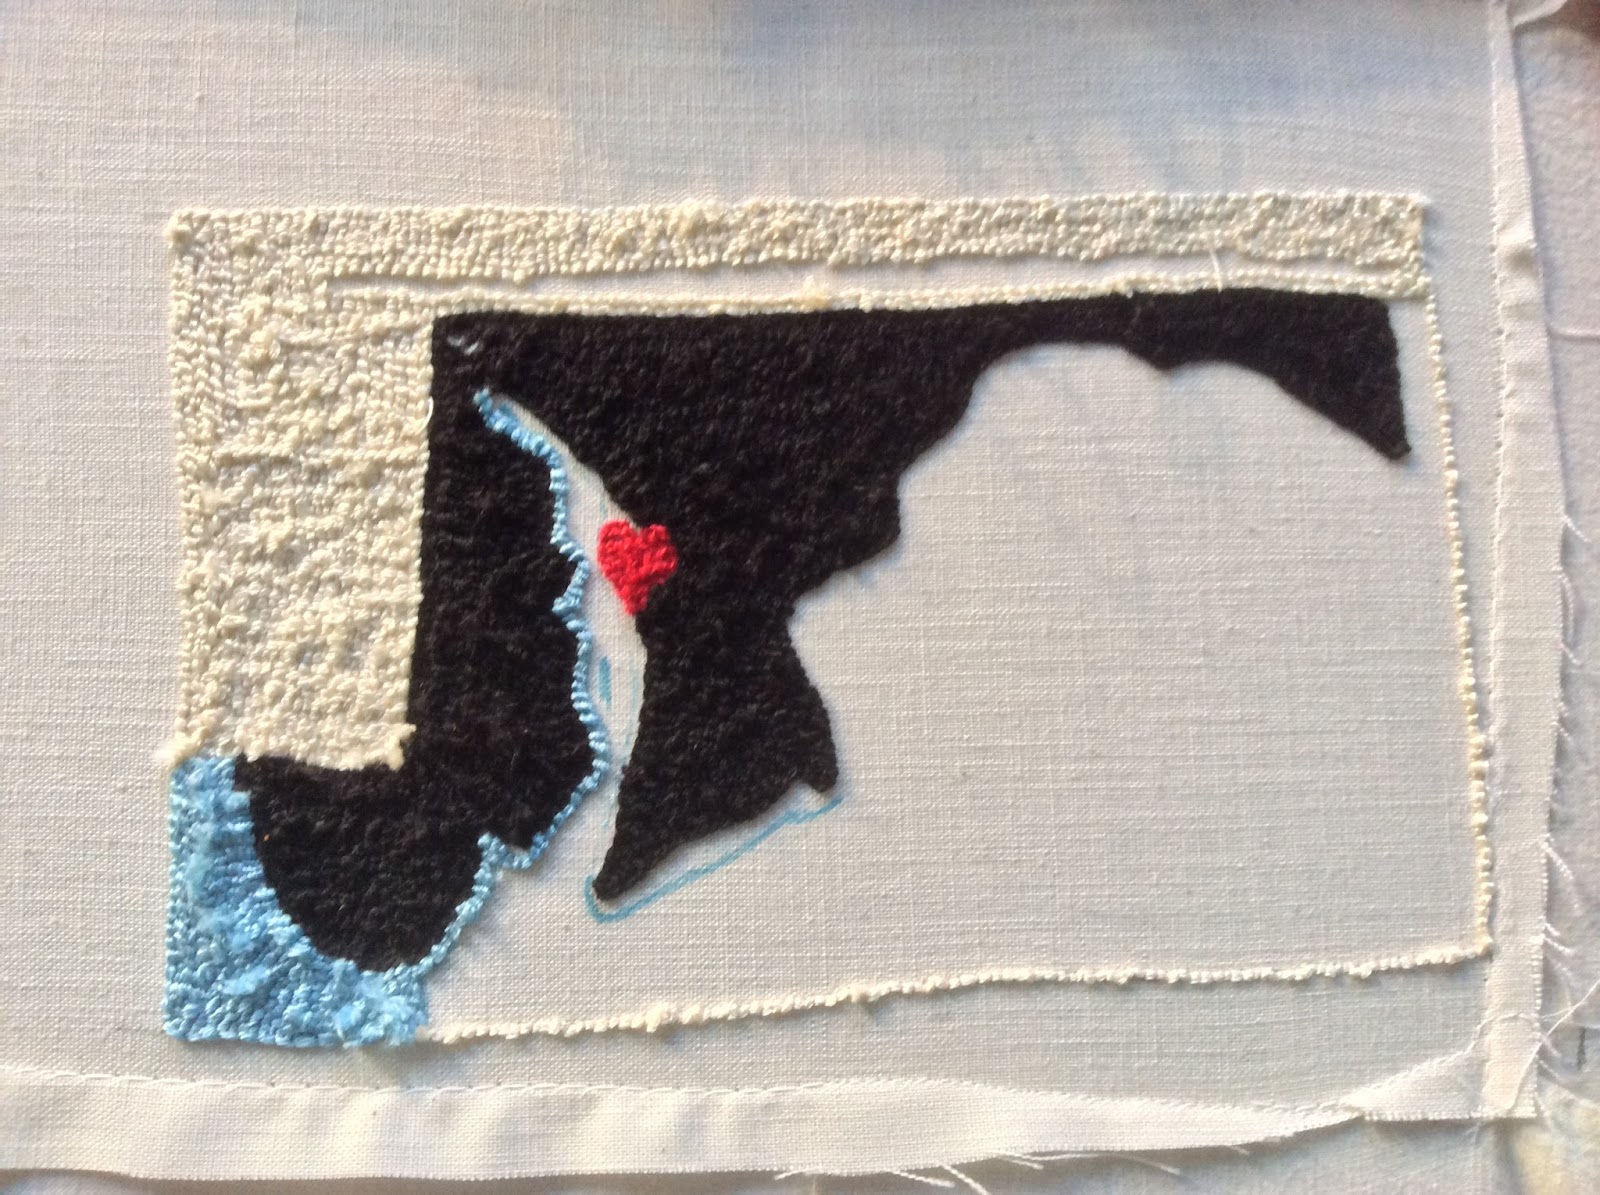
This was my third attempt to continue needle punching.
I drew 'Maryland' out on the weavers cloth, stretched it
onto the frame and began using DMC floss
I thought would work best...
Because I decided to use a smaller piece of the weavers cloth
I had to attach it to a few smaller pieces of muslin cloth
so it would fit on my frame.
After completing all the punching,
I tried the fabric, turned under and did
a whip stitch to attach to back on work.

Found this great frame at the same charity shop as before.
This time I mounted the work UNDER the glass
to keep it from collecting dust.


Monday, March 11, 2013

DIY Quilted Coaster


New day,
new sewing project!
Oh I just love the colours combinations!


After decided not to use
the striped fabric
I started making this wonky log cabin square.

I used all organic materials.
Cotton fabric, batting and thread.
Piecing was machine sewn.

The finished size will be 5" by 5".


Next I will secure the binding
making a nice edge for this
coaster.


All snug!

The pattern I'm following (loosely)
calls for machine sewn, random line
across the top of this.
However...

I plan to hand sew or rather
hand quilt this wee piece.
Not certain of the pattern yet.

So for now, I will let it just sit
and I'll return to it in a few days...


Once again, I used a pattern in
this book to inspire this project.
As usual I sorta change the pattern
to suit my creative desires.
;)

Sunday, March 10, 2013

DIY Mini iPad Cover


Made a mini iPad cover


Complete with satin ribbon
satin stitching

and a wee blue bird

This way when I take
my mini iPad with me
I can store it safely.


First I drew and cut out
a wee felt bird


Then I had to match up
the colours of the felt bird
with my floss

Once I found matching threads, floss...


I looked through all my
extra bits to see if
I wanted to add any other
felt cut outs.


In order to hand sew the bird on
I used just one strand of floss.


Separating the floss strands.


 I first sew the darker blue wing
on to the bird body
using a decorative
running stitch.

Next I get the thread for
sewing on a wee eye ready.


Using black thread I make
a french knot for the eye.


Close up of french knot eye.

I place wee bird onto
felt 

And with matching
thread colour
I sew on bird
using running stitch.


All done


Back side reveals a small
knot that happened while sewing.
The nice thing about felt
is that its forgiving, not
showing this mistake on front side.

Using my sewing machine,
I attach two strips of
velcro with a satin stitch.

Then I seamed up three sides of pouch,
on sewing machine.

Even though I used a simple running stitch
with white thread, it doesn't
show to much.

All done!


Safe and snug!

OH! I use Fray Check to seal
the edges of ribbon
even though I seamed them too.
Double protection because
this flap will get allot
of wear and tear.

Ta Da!


The pattern for the full sized iPad
I found in this book, since I already have
a cover for my iPad
I needed one for
my mini iPad.
I altered that pattern
accordingly.

Thursday, March 7, 2013

Chocolate Bunny


Yay, chocolate bunny is all done!

I added the extra pink cheeks
and the pink cotton floss nose
and mouth.

Pattern can be found in this book,
minus the antlers.

I guess I should explain
that the face, cheeks, nose
and heart are all my own original design.
I simply use the body pattern from the book
and didn't add the antlers.


Wee pink felt heart
added last.

Related Posts Plugin for WordPress, Blogger...