 |
| Made a mini iPad cover |
 |
| Complete with satin ribbon satin stitching |
 |
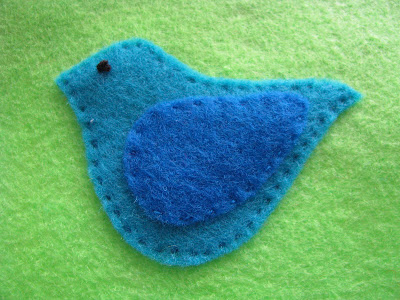
| and a wee blue bird |
 |
| This way when I take my mini iPad with me I can store it safely. |
 |
| First I drew and cut out a wee felt bird |
 |
| Then I had to match up the colours of the felt bird with my floss |
 |
| Once I found matching threads, floss... |
 |
| I looked through all my extra bits to see if I wanted to add any other felt cut outs. |
 |
| In order to hand sew the bird on I used just one strand of floss. |
 |
| Separating the floss strands. |
 |
| I first sew the darker blue wing on to the bird body using a decorative running stitch. |
 |
| Next I get the thread for sewing on a wee eye ready. |
 |
| Using black thread I make a french knot for the eye. |
 |
| Close up of french knot eye. |
 |
| I place wee bird onto felt |
 |
| And with matching thread colour I sew on bird using running stitch. |
 |
| All done |
 |
| Back side reveals a small knot that happened while sewing. The nice thing about felt is that its forgiving, not showing this mistake on front side. |
 |
| Using my sewing machine, I attach two strips of velcro with a satin stitch. |
 |
| Then I seamed up three sides of pouch, on sewing machine. |
 |
| Even though I used a simple running stitch with white thread, it doesn't show to much. |
 |
| All done! |
 |
| Safe and snug! |
 |
| OH! I use Fray Check to seal the edges of ribbon even though I seamed them too. Double protection because this flap will get allot of wear and tear. |
 |
| Ta Da! |
 |


No comments:
Post a Comment